How to Connect Smart Appliances to Home Systems
• Updated
Connecting smart appliances to your home system is simpler than you might think. By linking devices like ovens, refrigerators, and dishwashers to platforms like Google Home or Alexa, you can automate everyday tasks, monitor appliance performance, and even save on energy costs. Here's what you need:
- Compatibility Check: Ensure your appliance works with your smart home hub (e.g., Alexa, Google Home).
- Stable Wi-Fi: Use a 2.4GHz network with at least 25 Mbps speed.
- Firmware Updates: Keep apps and appliance software up to date.
- Step-by-Step Setup: Use the manufacturer’s app to connect appliances to Wi-Fi and sync with your smart home hub.
- Automations: Create routines like scheduling coffee brewing or syncing recipes with cooking modes.
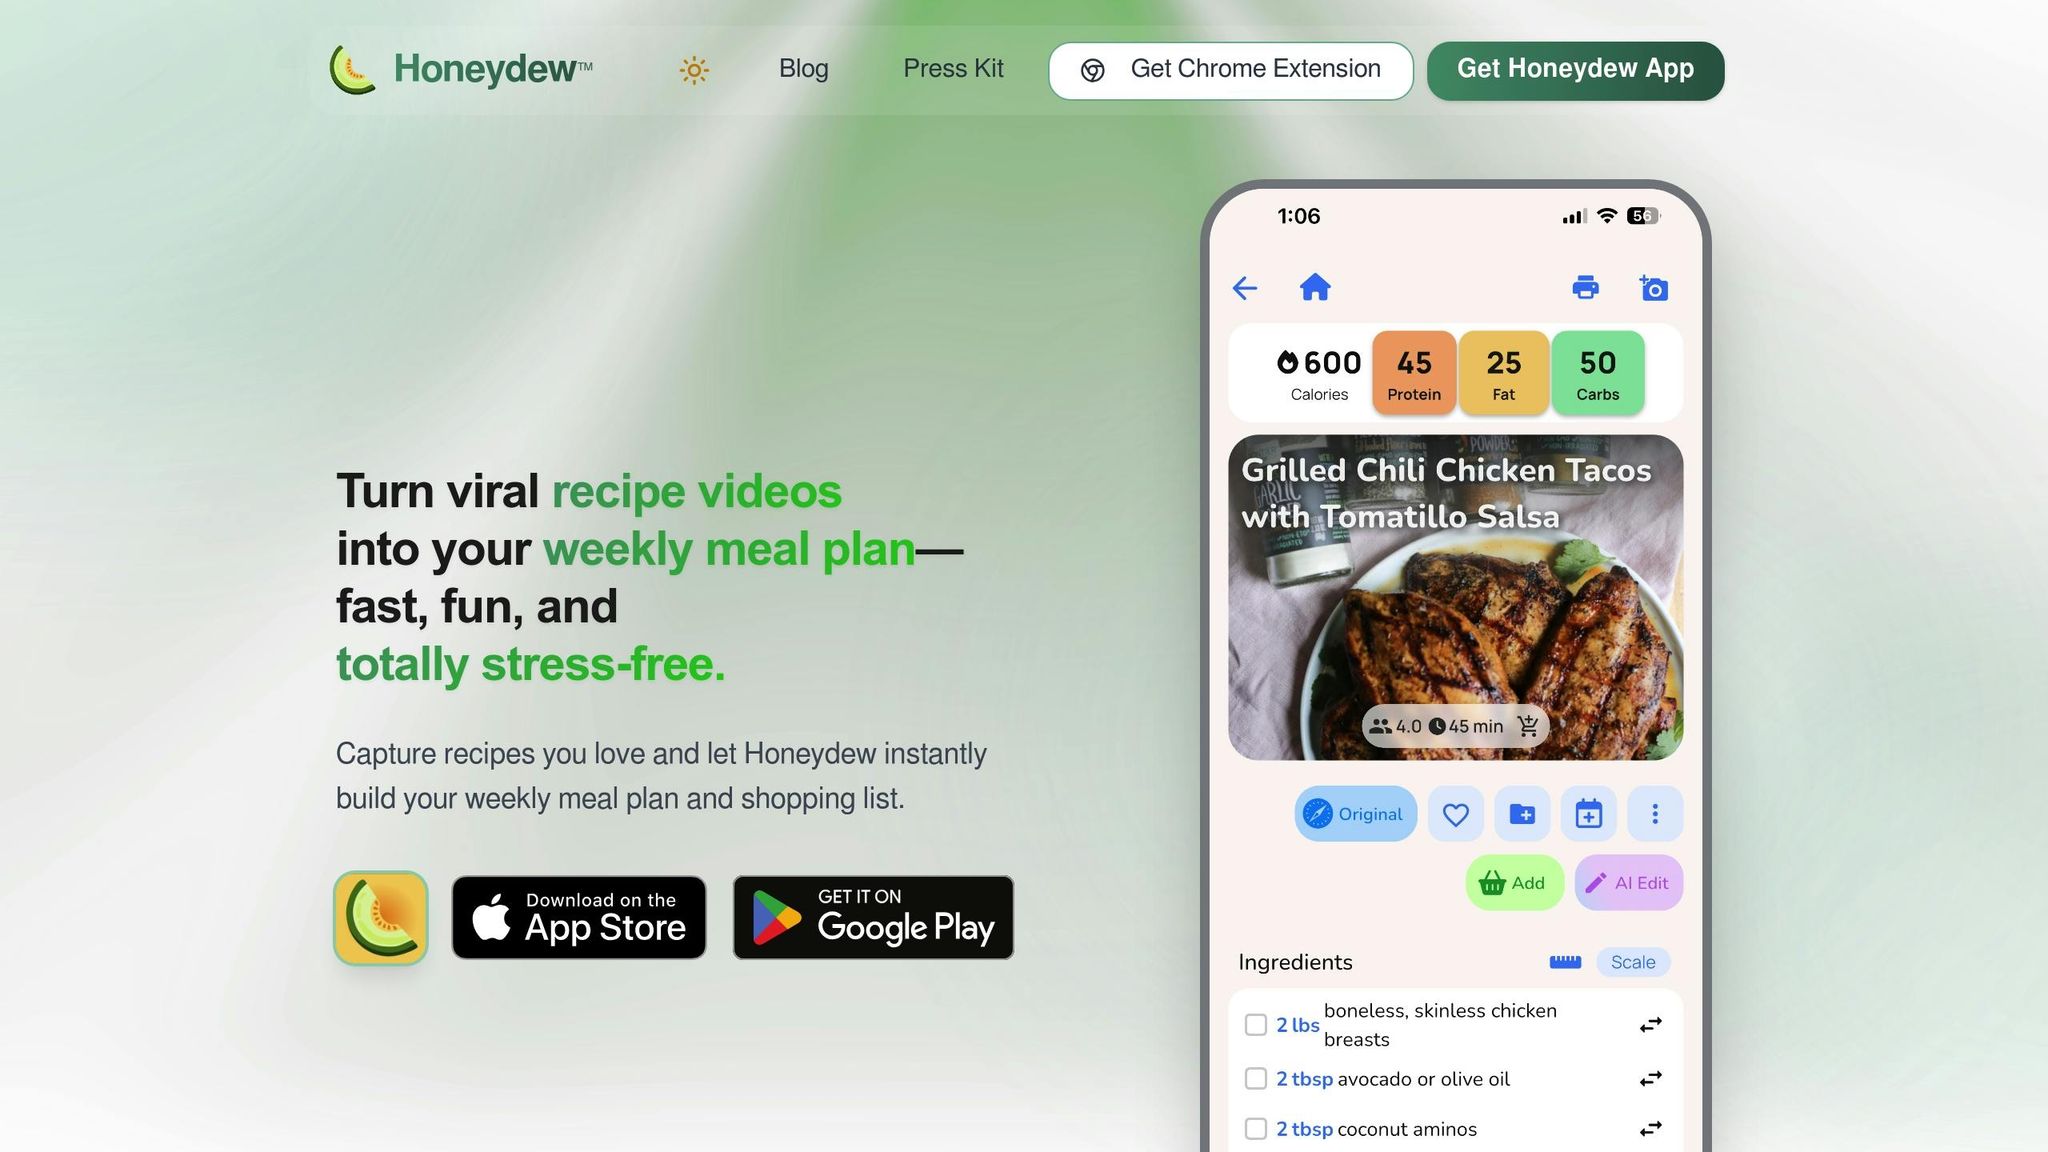
With tools like Honeydew Recipe Manager, you can integrate meal planning, grocery lists, and recipe-based automations for a more efficient kitchen. Follow these steps to turn your appliances into a connected, time-saving system.
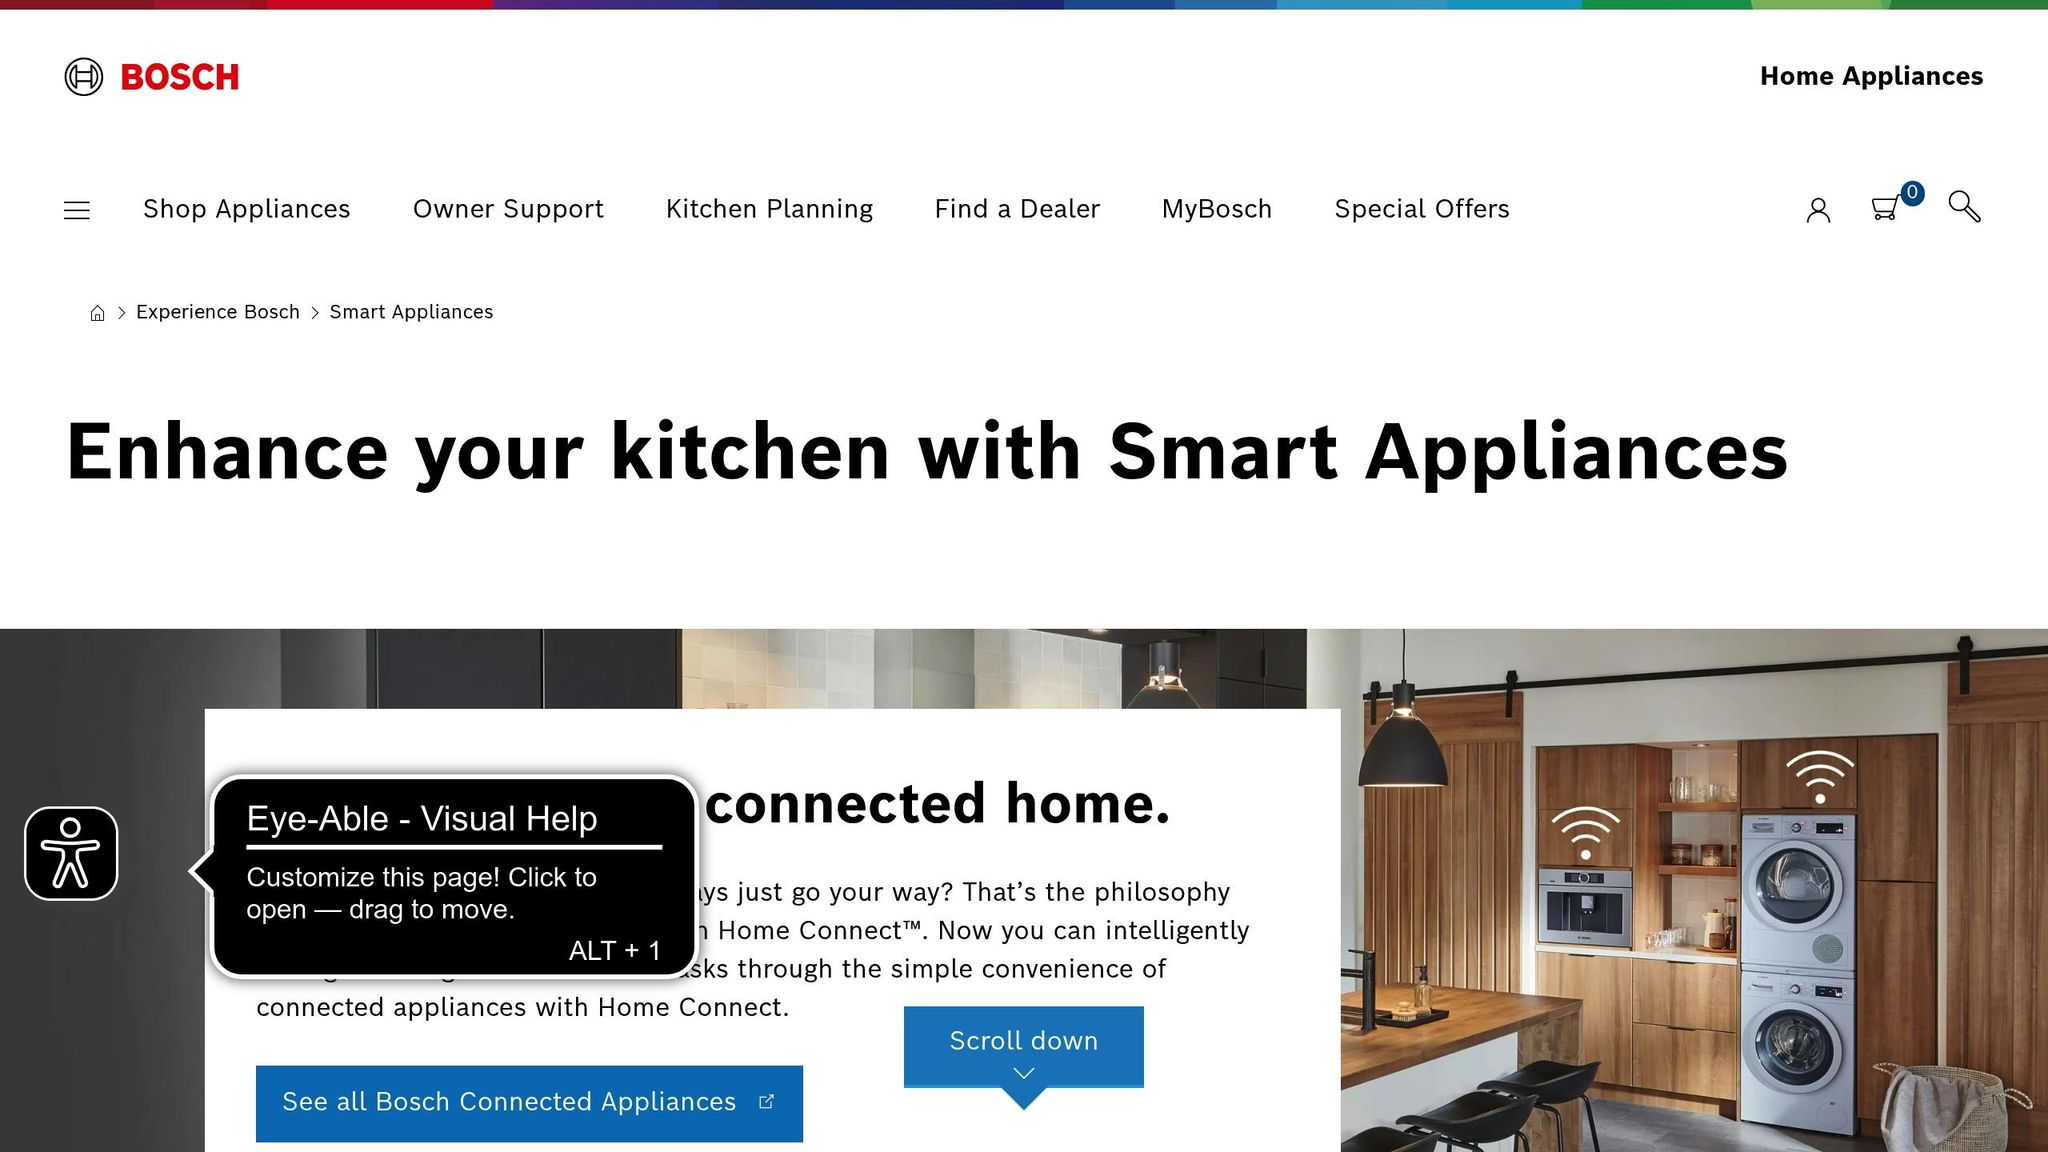
Bosch Smart Appliances (Home Connect) and Home Assistant
What You Need Before Connecting Smart Kitchen Appliances
Getting your smart kitchen appliances connected smoothly starts with a little preparation. Skipping basic checks like compatibility, network setup, or software updates can lead to frustrating connection issues. Here’s how to ensure everything is ready before you power up your devices.
Check Compatibility with Smart Home Hubs
The first step is confirming that your appliance works with your smart home hub. Look for a QR code, SAID, or MAC address on the appliance - these identifiers often link to setup instructions and list compatible hubs.
For detailed guidance, open the manufacturer's app. Brands like KitchenAid™, JennAir®, and Thermador® often include a "Partners" or "Smart Integration" section to highlight supported systems. Thermador, for instance, emphasizes:
seamlessly integrate your appliances with our connected partners that include Apple Watch, IFTTT, Crestron and more.
If you’ve lost the user manual, don’t worry. Enter your model number on the manufacturer’s website to generate a compatibility report.
Also, check for a "Remote Enable" feature in the appliance settings or app. This is often necessary for linking with Alexa or Google Home. Some devices also support WPS (Wi-Fi Protected Setup), which lets you connect to your router quickly using its WPS button. Be aware that some integrations might only be available in the U.S..
Set Up a Stable Wi-Fi Network
Most smart kitchen appliances depend on the 2.4GHz Wi-Fi frequency band - they don’t work with 5GHz networks. The 2.4GHz band is ideal for its longer range and better ability to penetrate walls, which is helpful if your router is in another room. For smooth operation, aim for a network speed of at least 25 Mbps.
To optimize your connection:
- Position your router centrally and elevate it away from metal objects.
- Use a Wi-Fi analyzer to detect weak spots in your home.
- If you’re connecting many devices, consider creating a separate guest network for your smart appliances. This adds a layer of security by isolating them from your personal data.
During setup, have your Wi-Fi name (SSID), password, and any appliance-specific details ready. If you’re using an Android phone, disable features like "Smart Network Switch" or "Avoid Poor Networks", as these can interrupt the pairing process by disconnecting from the appliance’s temporary setup network. A stable network ensures a seamless connection and supports necessary updates.
Update Firmware and Apps
Before activating your appliance’s Wi-Fi features, update both the manufacturer’s app and the appliance firmware. This step resolves security vulnerabilities, fixes bugs, and ensures compatibility with third-party systems like Alexa or Google Home.
Enable Bluetooth and Location Services on your smartphone during setup - these permissions help the app locate and update your appliance. Keeping your smartphone’s operating system up to date is equally important, as older systems may cause compatibility issues or expose security risks.
Many manufacturers now simplify this process with QR codes or "Scan-to-Connect" features in their apps, making firmware updates and pairing much easier. These updates not only enhance security but also unlock new features for your appliances.
How to Connect Smart Appliances Step-by-Step
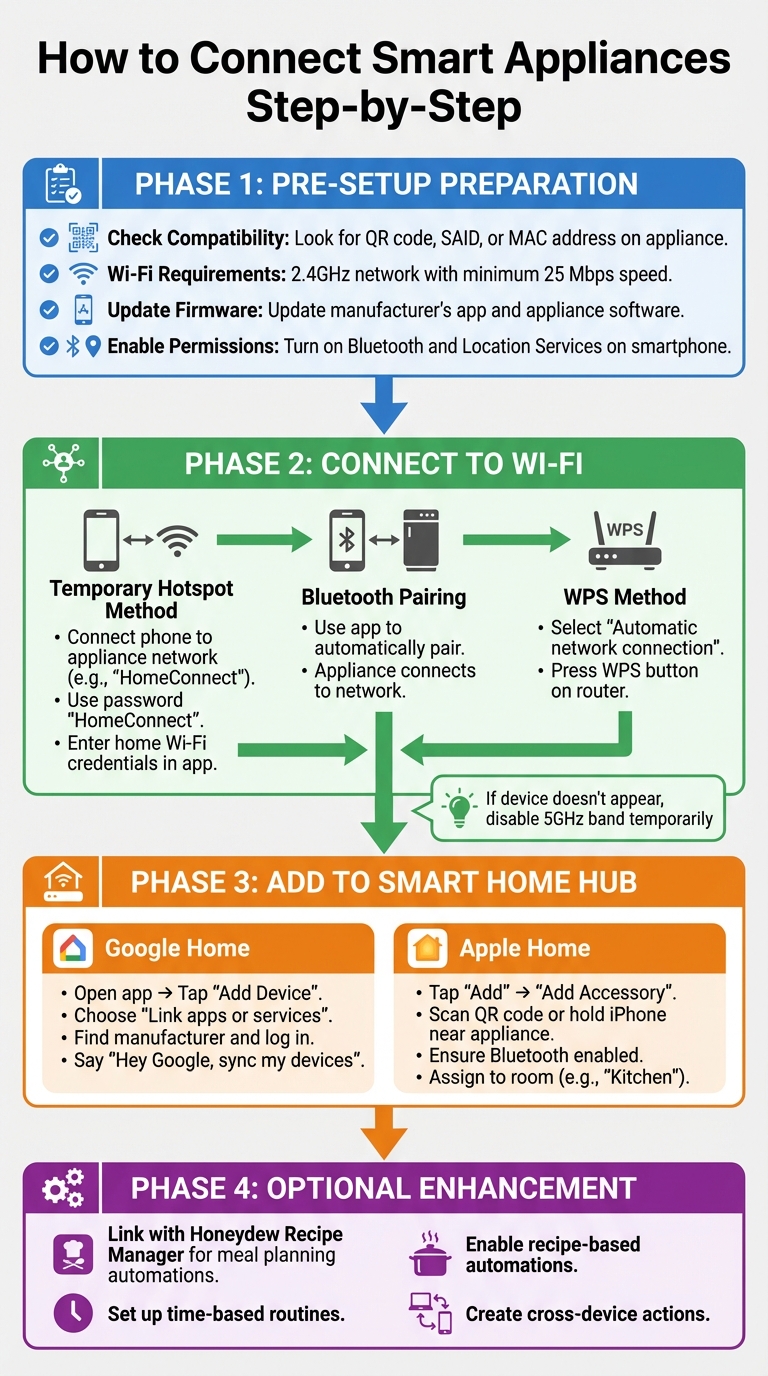
Step-by-Step Guide to Connecting Smart Appliances to Home Systems
Once you're ready to set up your smart appliances, the process generally involves three main steps: connecting the appliance to Wi‑Fi, adding it to your smart home hub, and linking it with tools like meal planning apps for added convenience.
Connect Appliances to Wi‑Fi
Start by downloading the manufacturer's app - such as the KitchenAid™ app or Home Connect® app. Create an account and pair your appliance for remote control features. You'll need details like the appliance’s QR code, Smart Appliance ID (SAID), or MAC address, which can usually be found on a sticker or the digital display.
There are three main ways to connect your appliance to Wi‑Fi:
- Temporary Wi‑Fi Hotspot: Connect your phone to the appliance’s temporary network (e.g., "HomeConnect") using a preset password like "HomeConnect." Then, enter your home Wi‑Fi credentials in the app.
- Bluetooth Pairing: Use the app to automatically pair your appliance with your network.
- WPS (Wi‑Fi Protected Setup): Select "Automatic network connection" on your appliance and press the WPS button on your router.
If your phone doesn’t automatically connect to the appliance’s temporary network, you can manually select it in your phone's settings. According to Home Connect:
If your smartphone does not connect to the temporary Wi‑Fi network automatically, select the network manually in your phone's settings. The password is "HomeConnect".
To speed things up, use the QR code in the Quick Start Guide. Once the app confirms the appliance is connected to your home network, you’re ready to move on to integrating it with your smart home hub.
Add Appliances to Your Smart Home Hub
Once your appliance is online, the next step is syncing it with your smart home hub. For Google Home, open the app, tap "Add Device", and choose "Link apps or services." Find your appliance's manufacturer and log into your account to authorize the connection. If the device doesn’t show up right away, try saying, "Hey Google, sync my devices" to refresh the list.
For Apple Home, tap "Add", select "Add Accessory", and either scan the QR code or hold your iPhone near the appliance to pair. Make sure Bluetooth is enabled and all devices are on the same Wi‑Fi network. Some appliances with the Matter logo can be set up directly in the hub app or through the manufacturer’s app first.
Once connected, you can assign appliances to specific rooms, like "Kitchen", for easier voice commands. You can also give them custom nicknames (e.g., "Coffee Maker") that simplify control through voice assistants. If the appliance has been used in another home, a factory reset might be required before adding it to your hub.
Link Appliances with Honeydew Recipe Manager
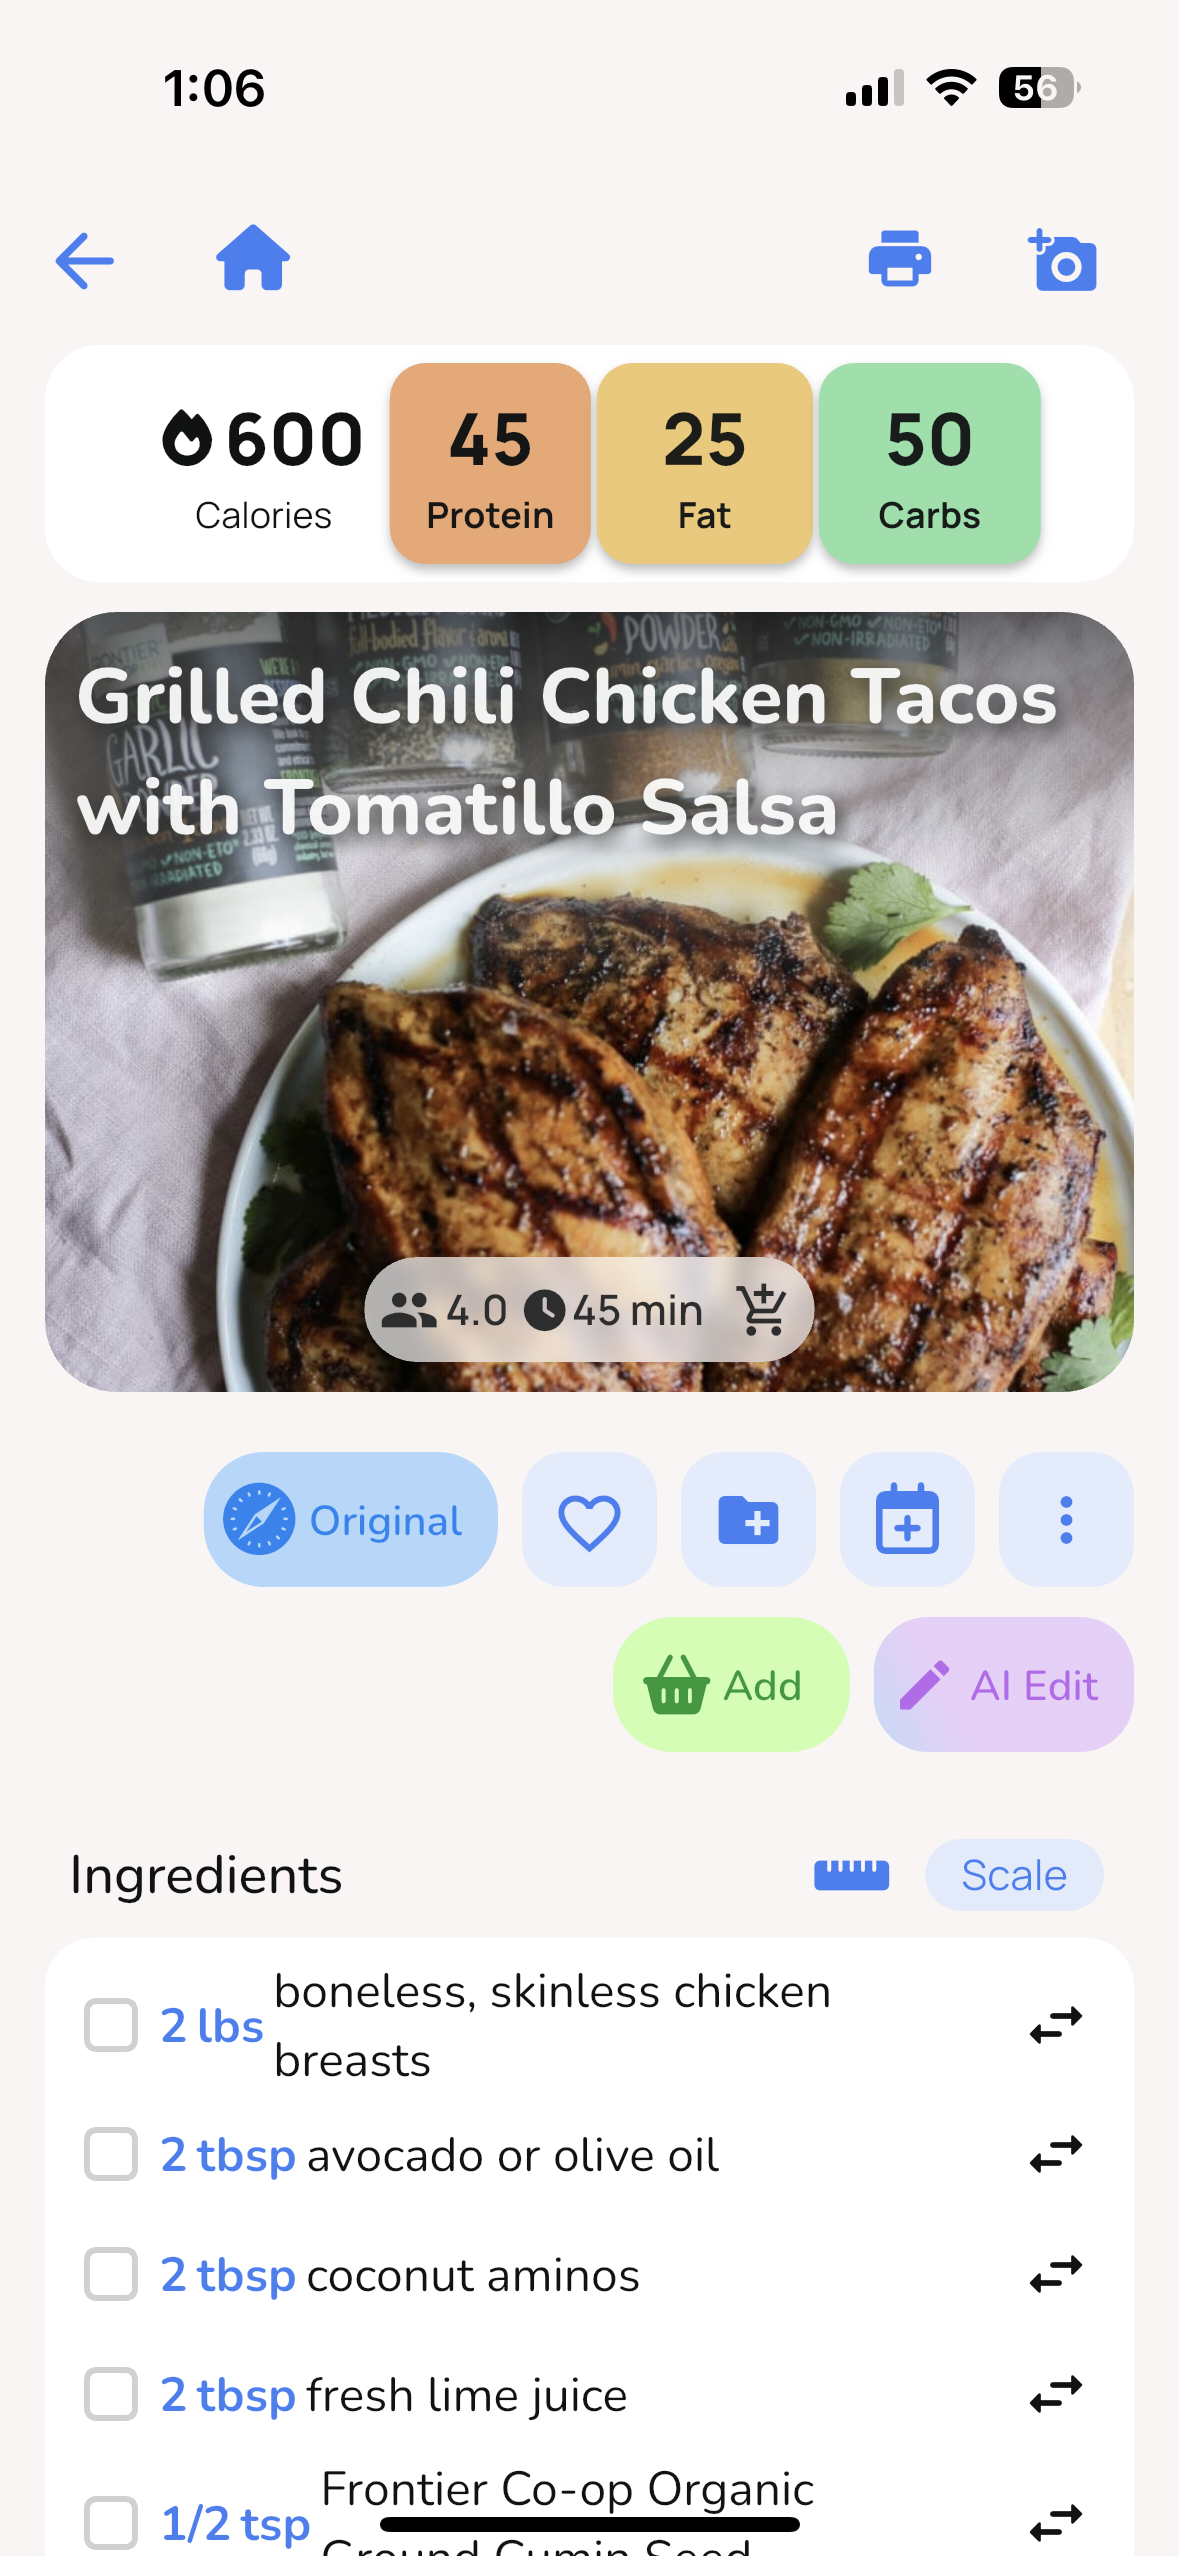
To unlock the full potential of your smart kitchen, link your appliance with Honeydew Recipe Manager. This app enhances meal planning by enabling recipe-triggered automations. For example, it can adjust cooking settings, create grocery lists from imported recipes, and even place Instacart orders for missing ingredients.
The "Ask Honey" AI assistant offers AI meal planning with real-time recipe tweaks and ingredient swaps - like substituting almond flour for regular flour - directly from your saved recipes. Honeydew also lets you import recipes from platforms like TikTok, Instagram, YouTube, or other websites, automatically organizing grocery lists by store section. The Pantry Mode feature takes photos of your fridge's contents and suggests recipes based on what you already have. Plus, it supports up to six family members, allowing everyone to collaborate on meal planning and access shared recipe collections across devices.
Setting Up Kitchen Automations
Once your appliances are connected, the next step is setting up automated routines to make your kitchen tasks more efficient. These automations use simple IF/THEN logic: when a specific condition - like a set time or event - is met, the system performs a pre-programmed action. This takes your connected kitchen to the next level of convenience and functionality.
Set Time-Based Routines
After configuring your appliances, you can schedule actions to fit your daily habits. Time-based routines allow you to set specific times or days for your appliances to operate. For example, you might have your coffee maker start brewing at 7:00 AM on weekdays, while letting yourself sleep in on weekends. Platforms like SmartThings, Home Assistant, and Google Home make this scheduling process straightforward.
Here’s how to set it up:
- SmartThings: Go to the "Routines" tab, tap "Add (+)", pick your trigger time, and assign the desired appliance action.
- Home Assistant: Head to Settings > Automations & Scenes, select "Time" as the trigger, and set your preferred schedule.
- Google Home: Use the Script Editor with YAML scripting to customize precise timing.
It’s a good idea to test these routines with a short-term trigger to ensure everything works smoothly. For safety, especially with ovens or cooktops, make sure the area is clear and include stop commands or notifications as part of the routine setup.
Enable Recipe-Based Automations
With the Honeydew Recipe Manager integrated, you can create recipe-based automations that sync directly with your meal plans. For instance, when you start cooking, the app can automatically preheat your oven to the required temperature and activate the right mode on Home Connect appliances like those from Bosch, Siemens, Neff, or Gaggenau.
To set this up with IFTTT:
- Connect the Honeydew Recipe Manager and your appliance brand in the IFTTT dashboard.
- Create an applet where the trigger is a recipe event, and the action starts the corresponding appliance mode.
- Add a delay if you need extra prep time before the appliance starts.
IFTTT offers over 650 pre-configured automations for Home Connect devices, giving you plenty of options to tailor these routines to your needs.
Integrate Cross-Device Actions
Take it a step further by linking multiple devices to work together. For example, when your oven finishes preheating, you can program the kitchen lights to turn on, or have your smart speaker announce when a cooking timer ends.
Here’s how to get started:
- IFTTT: Connect devices from different brands - over 1,000 apps and services are supported.
- Apple Shortcuts: iOS users can combine multiple device actions into a single scene, triggered by a command or sensor.
- Geofencing: Set a location-based trigger (like starting your slow cooker when leaving work) by defining a radius of 100–500 meters. This helps balance accuracy and reliability.
"A smart home manager centralizes all devices, routines, and automations." - IFTTT Team
Fixing Common Connection Problems
Even after successfully connecting your smart appliances, occasional hiccups can occur. Most of these issues are tied to network settings, compatibility conflicts, or interference in your setup. Here’s how to troubleshoot and get things back on track.
Wi-Fi Connectivity Problems
One of the most frequent issues is frequency compatibility. Many smart appliances only work on the 2.4 GHz Wi-Fi band, while modern routers often default to 5 GHz or combine both bands under a single network name (SSID). If your appliance struggles to connect, try temporarily disabling the 5 GHz band on your router during setup. This forces both your phone and appliance to use the 2.4 GHz band.
Another helpful step is to power cycle both your router and the appliance. Unplug them for about 30 seconds, then reconnect in this order: modem first, wait for it to stabilize, then router, and finally the appliance. Also, check for USB interference on your router - switching to USB 2.0 mode can help. Ensure that "AP Isolation" or "Client Isolation" modes aren’t enabled, as these prevent devices from communicating with each other. For Home Connect appliances, make sure ports 443, 8080, and 123 are open for proper server communication.
"Most Home Connect issues can be fixed by resetting your appliance or checking your Wi-Fi connection." – Home Connect
Hub Detection Failures
Detection failures often boil down to protocol compatibility or improper setup. Make sure your appliance uses a protocol supported by your hub, such as Zigbee, Z-Wave, or Matter. Some devices require a dedicated bridge, like the Philips Hue Bridge, instead of direct pairing. If the appliance was previously connected to another hub, perform a "General Exclusion" process to clear its memory before pairing with a new hub.
Follow the pairing instructions in your manual - this usually involves pressing and holding a button (like "Remote Enable" or "Wi-Fi") until an icon starts flashing. During pairing, keep an eye on your hub’s live logs to spot any error messages that could explain the issue. It’s also essential to ensure Bluetooth is enabled on your phone and that your hub app lists you as a "Member" rather than a guest.
Before pairing, update the appliance’s firmware using the manufacturer’s app. For Matter-enabled devices, use the setup code generated by your existing Matter Fabric instead of the original one printed on the appliance. If all else fails, a factory reset on the appliance might resolve persistent issues.
Integration Performance Issues
Maintaining a reliable 2.4 GHz connection is key for smooth integration. Frequent disconnections or laggy responses are often caused by network stability problems. Many routers use "Smart Connect" or band steering features to prioritize 5 GHz connections, which can lead to frequent drops for 2.4 GHz-only devices. Disable this feature in your router settings if needed.
To boost performance:
- Assign a static IP address to your appliance through your router’s admin panel. This prevents disruptions during DHCP lease renewals.
- Temporarily disable VPNs or iCloud Private Relay on your smartphone during setup. Also, check if your mesh network is connecting the appliance to a distant node rather than the nearest one.
- Set your router’s 2.4 GHz channel width to 20 MHz instead of "Auto" and choose cleaner channels like 1, 6, or 11 to reduce interference.
For apps like Honeydew Recipe Manager, offline mode ensures you can still access meal plans and grocery lists even if your Wi-Fi connection becomes unstable.
| Error Code | Meaning | Quick Fix |
|---|---|---|
| E111 / E01 | Wi-Fi connection lost | Restart router and check signal strength |
| E222 | App not responding | Update or reinstall the smart home app |
| E333 | Appliance offline | Perform a factory reset on the appliance |
| 5014 | Connection failure | Open ports 443, 8080, and 123; check WPA2 security |
| 4613 | Weak signal / Blocked ports | Move router closer or disable MAC filtering |
Conclusion
Getting your smart appliances connected to your home system is a simple process. By using the app provided by your appliance's manufacturer, you can link devices to your Wi-Fi network and manage everything through a central hub like Google Home. Once set up, features like voice control and automation become easily accessible.
When paired with smart meal planning, these connected appliances offer even more convenience. For example, integrating with the Honeydew Recipe Manager streamlines meal prep by eliminating the need for multiple apps or manual adjustments. You can import recipes directly from social media, create grocery lists instantly, and even sync cooking instructions with compatible smart ovens. This all-in-one approach can save you a lot of time in the kitchen.
Honeydew is no small player in this space - it processes around 270,000 recipe saves each month and boasts an impressive 4.8/5 rating on both the Apple App Store and Google Play. Its AI-powered pantry feature helps users cut food costs by 23% by suggesting recipes based on ingredients they already have. Plus, its Instacart integration bridges the gap between discovering recipes online and getting ingredients delivered right to your door.
Home cooking is no longer focused on just getting dinner on the table. It is about precision, cultural connection, and smart tools that help every cook achieve professional-quality results without wasted time or an extra mess.
- Stephen Svajian, Co-Founder of Anova Culinary
FAQs
Do I need a smart home hub to connect my appliances?
You don’t always need a dedicated smart home hub to manage your devices. Many modern gadgets connect directly to your Wi-Fi network or can be controlled through smart speakers and apps.
That said, a hub can make things easier, especially when dealing with devices that rely on protocols like Z-Wave or Zigbee. For most newer devices, including those that support Matter, Wi-Fi or app-based control typically gets the job done without extra hardware.
Why won’t my appliance connect to my Wi‑Fi?
If your appliance isn’t connecting to Wi-Fi, start by restarting the device and double-checking that you’re entering the correct password. Make sure it’s within range of your Wi-Fi signal and away from potential interference like microwaves. For devices that only support 2.4 GHz networks, ensure your router is set to the correct band. You can also try rebooting your router or forgetting the network on your device and reconnecting. If none of these steps work, a factory reset might help, or you can use a Wi-Fi analyzer to assess your signal strength.
Can Honeydew trigger cooking automations from recipes?
Honeydew can work with compatible smart home systems to trigger cooking automations. These integrations allow you to streamline tasks, but Honeydew itself does not include built-in automation features for recipes.