How to Control Kitchen Appliances with Your Phone
• Updated
Your smartphone can now act as a remote control for your kitchen. From preheating your oven while commuting to adjusting your refrigerator's temperature at the store, smart appliances make everyday cooking tasks simpler and more efficient. Here's what you need to know:
- Remote Control: Use apps like SmartThings, SmartHQ, or Home Connect to manage appliances like ovens, refrigerators, and dishwashers from anywhere.
- Voice Commands: Hands messy? Amazon Alexa or Google Assistant let you adjust settings without touching your phone.
- Recipe Integration: Apps sync recipes directly to your appliances, ensuring precise cooking temperatures and times.
- Setup Essentials: A 2.4 GHz WiFi network, compatible devices, and the right app are key for pairing your appliances.
- Maintenance Alerts: Apps notify you about cleaning needs or low supplies, helping you avoid disruptions.
Smart kitchen tools save time, reduce stress, and improve cooking precision. Whether you’re hosting a dinner or streamlining your meal prep, these features bring convenience to your fingertips.
How to setup the Samsung SmartThings App to Work With Your Stove
What You Need Before Getting Started
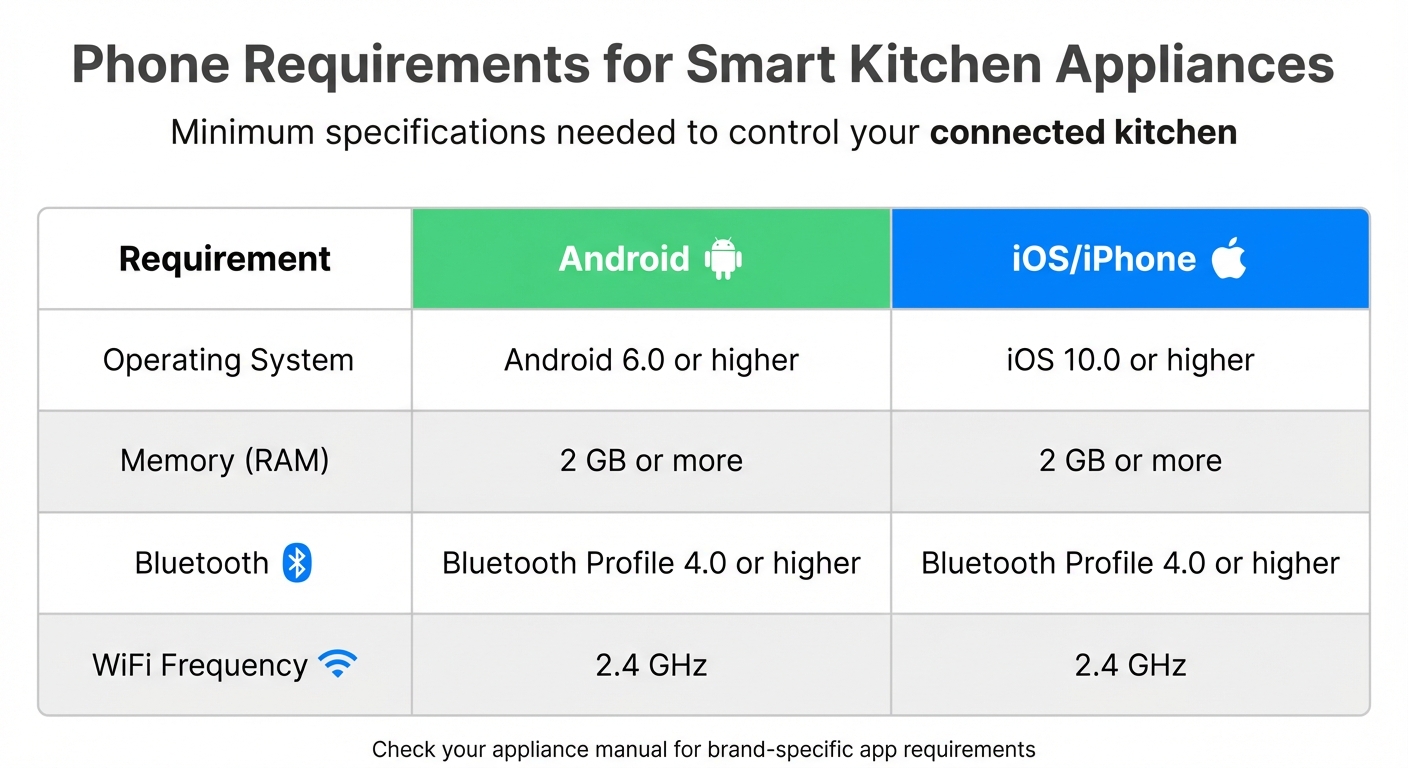
Smart Kitchen Appliance Phone Requirements: Android vs iOS Compatibility Chart
Before diving into the setup process, make sure your appliance and smartphone meet the necessary connectivity requirements. Getting everything prepared ahead of time will save you from frustrating pairing issues later. Most smart kitchen systems rely on specific hardware, compatible apps, and a properly configured home WiFi network. Double-check these basics to ensure everything works smoothly.
Compatible Appliances and Phone Requirements
Smart appliance control is compatible with a variety of kitchen devices. This includes major appliances like ranges, wall ovens, refrigerators, dishwashers, induction cooktops, and ventilation hoods. Even smaller countertop devices - like espresso machines, coffee makers, microwaves, and indoor smokers - often support smartphone connectivity.
Wondering if your appliance is compatible? Look for a "Connected Appliance Information" label. For ovens, this label is usually inside the door or near the frame. On refrigerators, check the door frame area. For smaller appliances, the label is typically on the back panel. Additionally, some appliances feature a "Remote Enable" button, a WiFi icon, or a "WiFi" setting in the control menu. Many models also come with a Quick Start Guide that includes a QR code to help with pairing.
Your smartphone also needs to meet certain minimum requirements to run the control apps effectively. Here’s a quick rundown:
| Requirement | Android | iOS/iPhone |
|---|---|---|
| Operating System | Android 6.0 or higher | iOS 10.0 or higher |
| Memory (RAM) | 2 GB or more | 2 GB or more |
| Bluetooth | Bluetooth Profile 4.0 or higher | Bluetooth Profile 4.0 or higher |
| WiFi Frequency | 2.4 GHz | 2.4 GHz |
Each brand has its own control app. For example, GE Appliances (including GE, GE Profile, Café, and Monogram) uses the SmartHQ app, Samsung works with SmartThings, and brands like Bosch, Thermador, Siemens, Gaggenau, and Neff rely on the Home Connect app. Download the appropriate app from the Apple App Store or Google Play Store and set up a verified account before pairing your appliance.
You’ll also need credentials from your appliance, such as the SAID, MAC address, or module password. These can usually be found on the appliance label.
Once your devices are ready to go, make sure your WiFi network is properly set up.
WiFi and Network Setup
A stable 2.4 GHz WiFi network is a must, as many smart appliances don’t support 5 GHz connections. Check that your router is broadcasting on the 2.4 GHz band and ensure the signal strength is strong at the appliance's location (aim for at least three bars).
When setting up your WiFi, stick to English letters, numbers, and standard symbols in your network name (SSID) to avoid connection problems. Have your WiFi password ready, and if your network doesn’t appear during setup, you may need to add it manually.
If you’re using an Android phone, temporarily disable features like "Smart Network Switch", "Auto Network Switch", "Check for Internet Service", or "Avoid Poor Networks" in your WiFi settings. These features can interfere with the connection process during the appliance setup phase.
Once your network is configured and your appliance is connected, you can start enjoying remote features like preheating your oven or adjusting settings from anywhere in your home. Keep in mind that for safety reasons, many smart ovens made before late 2021 require you to press the "Remote Enable" button on the appliance before starting it remotely. Newer models may not have this limitation.
How to Connect Your Appliances Step-by-Step
Once your network is ready and the app for your appliance is installed, it’s time to pair your devices. While each brand has its unique steps, the general process is similar: turn on WiFi on the appliance, share your network details, and confirm the connection in the app. Below, you'll find brand-specific instructions to help you complete the setup.
Pairing Whirlpool Smart Appliances
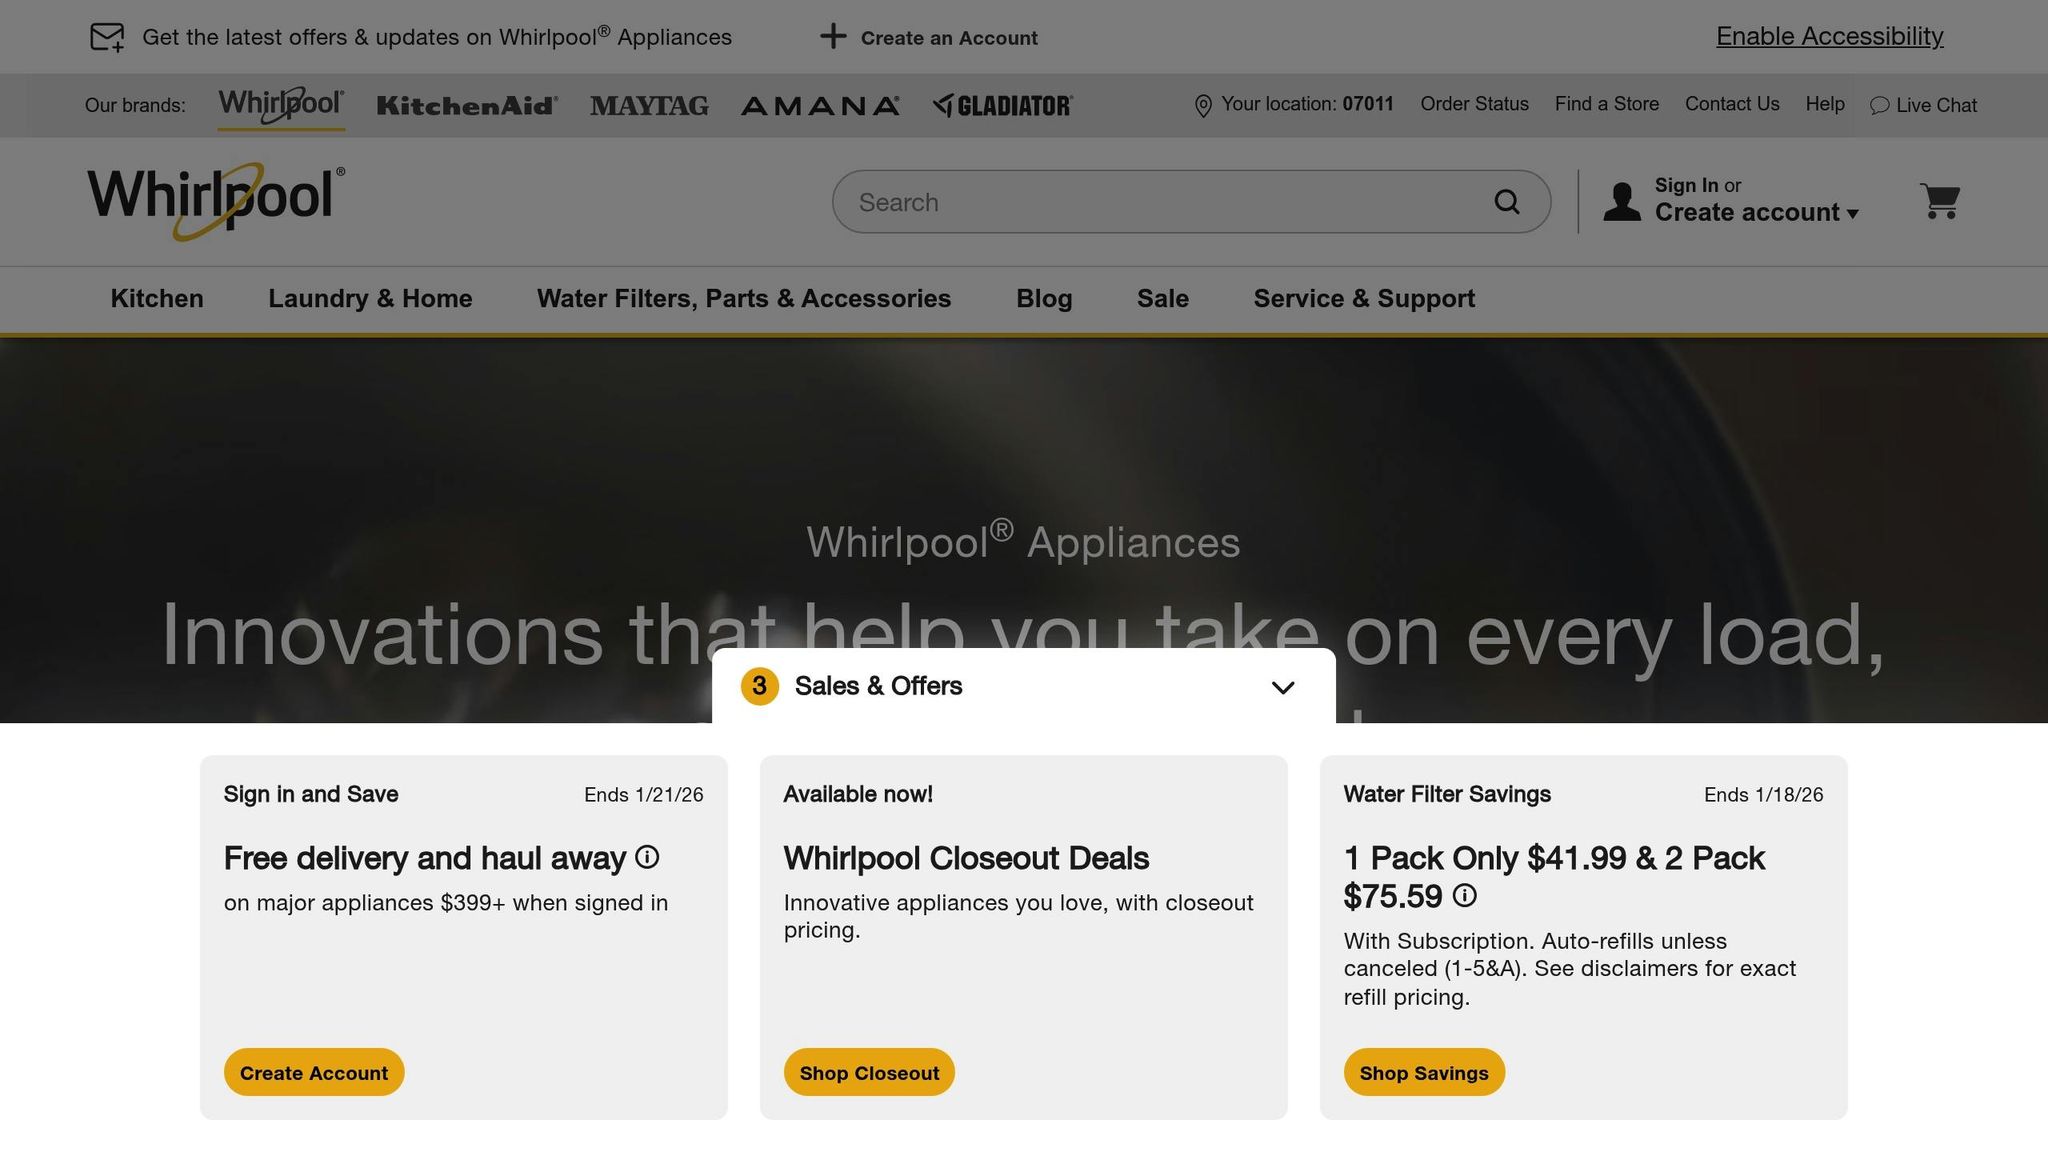
Start by downloading the Whirlpool app from the Apple App Store or Google Play and creating a verified account. Make sure your phone’s Bluetooth and Location Services are enabled, and grant the app the required permissions.
Many Whirlpool appliances use QR code pairing. If your appliance has an LCD touchscreen (common in ranges and ovens), navigate to Tools > WiFi > Connect on the screen. A QR code will appear - open the Whirlpool app and scan it to begin. If the QR code doesn’t work, you can manually enter the SAID (Smart Appliance ID) and MAC address, which are printed on the white "Connected Appliance Information" label inside the appliance door.
For models without a touchscreen, like some washers and dryers, tap "Add Appliance" in the app and press the "Remote Enable" button on the appliance. The app will display a code - verify that it matches the one on your appliance. If the appliance lacks a screen altogether, you might need to activate "Beacon" mode by holding the "Connect" button for 15 seconds. This will create a temporary setup network for your phone to join.
When entering your WiFi password on a touchscreen, keep in mind that the keyboard often defaults to uppercase letters. Ensure a strong 2.4 GHz signal during setup. Once paired, press the "Remote Enable" button to activate remote control features - you may need to press it again if the appliance door is opened and closed.
Pairing Café Appliances
For Café appliances, the process begins with downloading the SmartHQ™ app from the Apple App Store or Google Play Store. Create and verify your account via email, then log in. Select Café as your brand, choose your appliance category (like Refrigerator or Range), and follow the app’s instructions.
For ranges and wall ovens, press and hold the "Remote Enable" button until the WiFi icon starts flashing. If your wall oven uses a knob, turn it to "Remote Enable" (with the temperature set to "Off") and hold the "Push to Enter" button until the WiFi icon flashes. The appliance’s information label will provide the necessary password.
Refrigerators vary by model. For LCD models, tap "WiFi" on the display and then "Turn On" - the screen will show the Network ID and password. For pushbutton models, press and hold the "Water" and "Light" buttons together until the WiFi icon flashes.
Dishwashers require pressing and holding the "Wash Temp" and "Power Dry" pads for 3 seconds until the display reads "Ready to Connect." Press "Start" to reveal the network name and password.
For countertop appliances like espresso machines and coffee makers, specific button combinations are used. For example:
- Auto espresso machines: Hold "Espresso" and "Americano" for 3 seconds.
- Semi-auto espresso machines: Hold "Single" and "Double" for 3 seconds.
- Coffee makers: Hold "Auto Brew" and "Temperature" for 3 seconds.
If you’re using an Android phone and run into connectivity problems, check your WiFi settings and disable features like "Smart Network Switch" or "Avoid Poor Networks." For further assistance, contact Café’s Connected Home Support Line at 1-800-220-6899 (available Monday–Friday, 9 am–11 pm ET; weekends, 9 am–3 pm ET).
Pairing Home Connect Appliances
Home Connect appliances, including brands like Bosch, Thermador, Siemens, Gaggenau, and Neff, use the Home Connect app. Download it from your app store, create an account, and follow the app’s prompts to select your appliance type and enter the required credentials.
Most Home Connect appliances display their network details on the control panel or touchscreen. Navigate to the WiFi or network settings menu, enable WiFi, and note the temporary network name and password. Connect your phone to this temporary network, then use the Home Connect app to input your home WiFi credentials. The appliance will switch from the temporary network to your home network.
If your appliance has a QR code on its display or a label, you can scan it in the app to streamline the process.
Pairing KitchenAid Smart Appliances
To pair KitchenAid appliances, download the KitchenAid™ app from the Apple App Store or Google Play Store and create an account. Ensure Bluetooth and Location Services are turned on in your phone settings. KitchenAid appliances require a 2.4 GHz WiFi network (IEEE 802.11 b/g/n) with WPA2 security and IPV4 support.
For appliances with a "Remote Enable" button, press it and check if the screen displays: "Use the KitchenAid App to set up Wi-Fi." If your appliance has a "Wi-Fi Connect" button, press and release it quickly - don’t hold it down. If a countdown appears, the appliance is in the wrong mode. Turn it off and back on to reset.
Some newer KitchenAid models may be automatically recognized by the app once powered on and logged in. For other models, use the QR code or manually input the required information. If the appliance has a digital display, confirm the language selection by pressing "Start" before beginning the WiFi setup.
If you experience ongoing issues, reach out to KitchenAid technical support for guidance.
Controlling and Monitoring Your Appliances
Standard Features in Smart Appliance Apps
Once you've paired your smart appliances with their respective apps, you unlock a suite of convenient controls and real-time feedback options. These apps allow you to manage key functions remotely, like preheating an oven, starting a wash cycle, or adjusting temperatures. For some models, you might need to press a physical "Remote Enable" button to activate remote control features.
Real-time monitoring is another benefit, giving you updates on cooking progress, oven temperature, or the current status of a laundry cycle. Push notifications keep you informed, alerting you when a cycle finishes or if a setting needs your attention.
These apps go beyond simple controls - they also track maintenance needs and monitor consumable levels. For instance, smart dishwashers and washing machines can detect when you're low on detergent and even reorder it automatically. Maintenance reminders, such as cleaning filters or descaling your coffee maker, help keep your appliances running smoothly and can save you from expensive repairs down the line.
Another perk? Many apps support over-the-air updates, which can enhance functionality or add new features over time.
For cooking enthusiasts, recipe integration is a standout feature. Platforms like SideChef offer access to over 18,000 interactive recipes that sync directly with compatible appliances. This means your oven or stove can automatically set the right temperature, cooking mode, and timer for the dish you're preparing. Similarly, the ckbk app provides a library of over 90,000 professional recipes, making it easy to explore new dishes without the hassle of manual adjustments. These tools take the guesswork out of cooking, ensuring consistent results every time.
Some apps even include meal planning features, which further simplify your kitchen routine by combining recipes, scheduling, and grocery management into one seamless experience.
Using Honeydew Recipe Manager with Smart Appliances
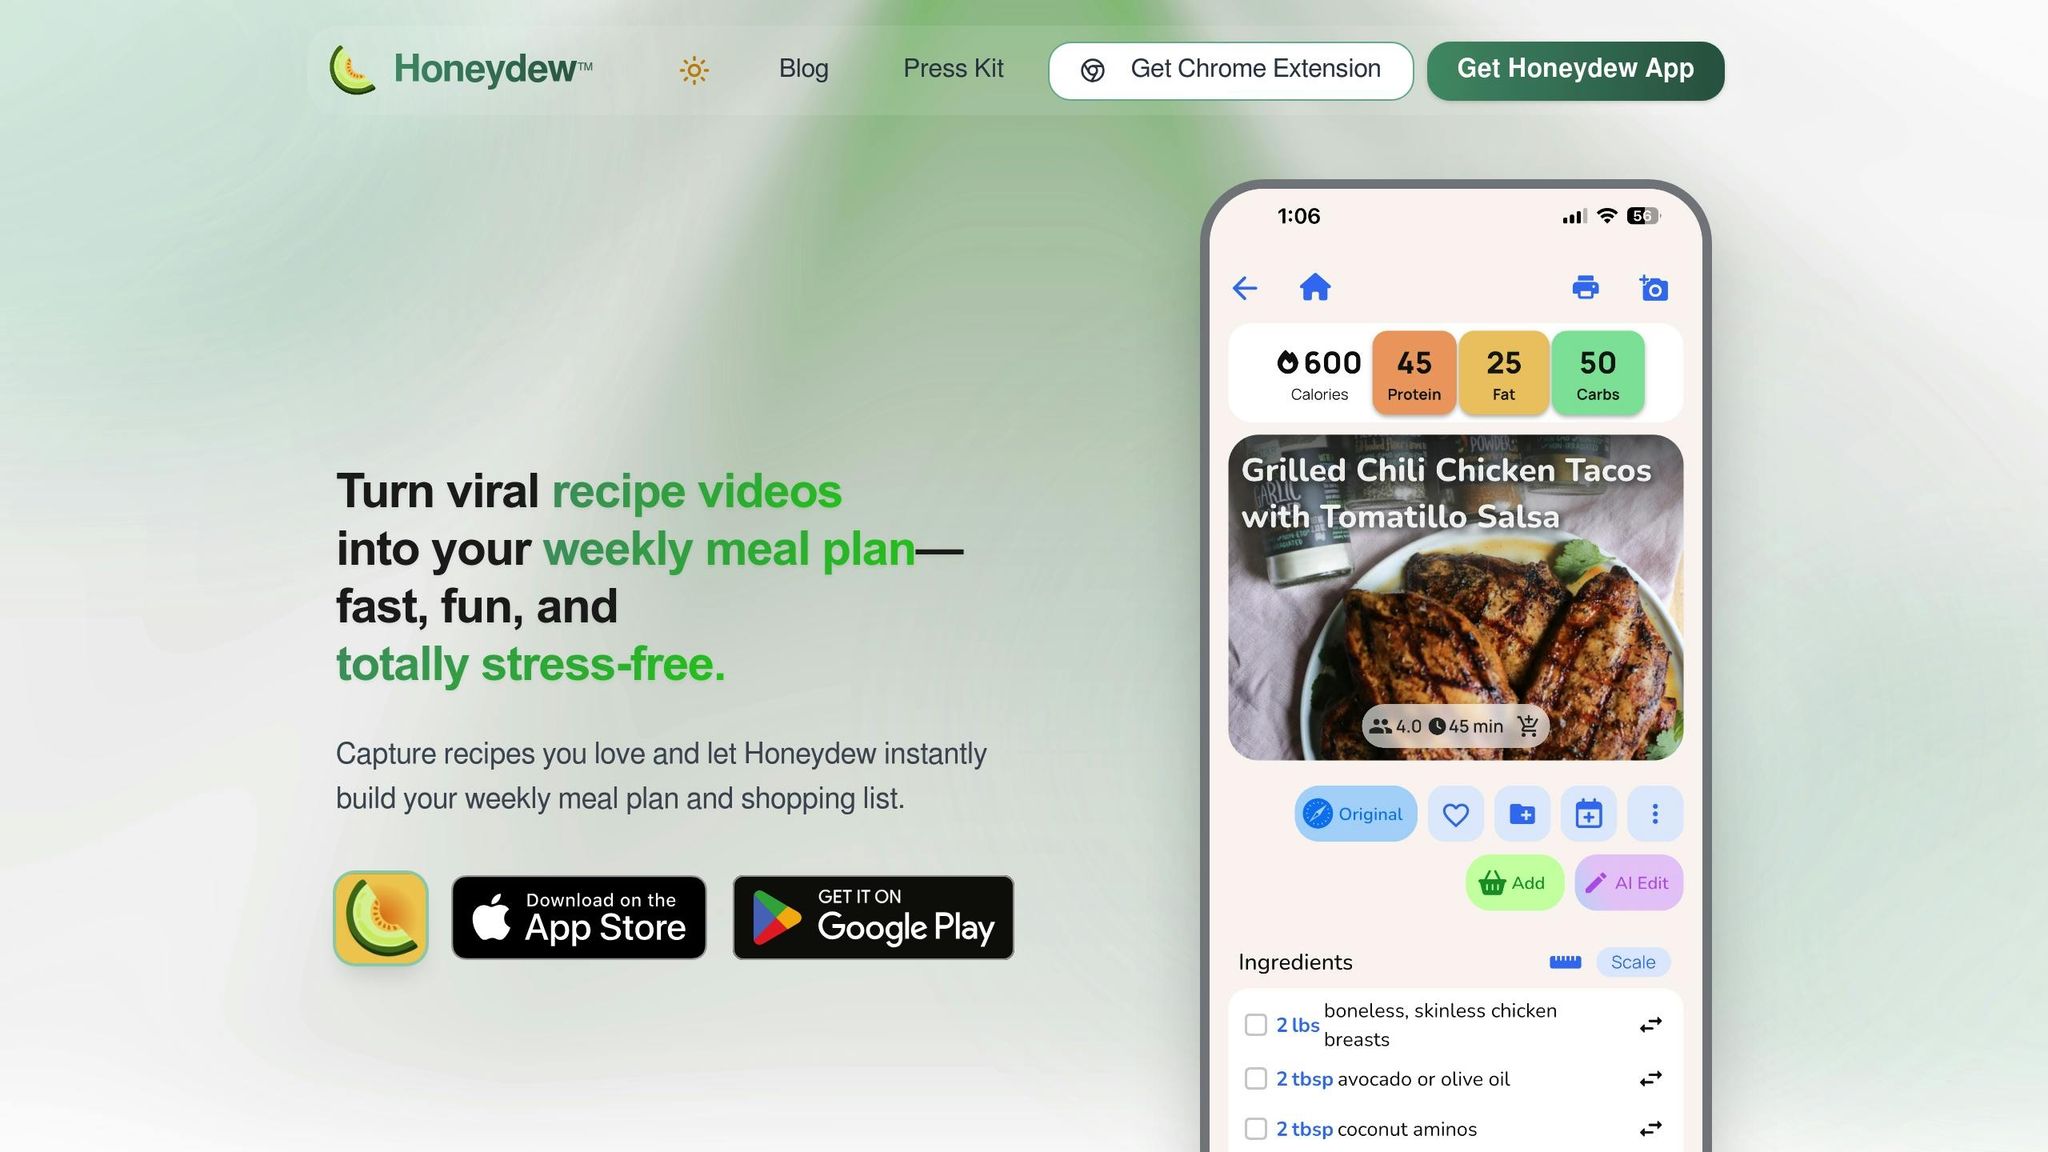
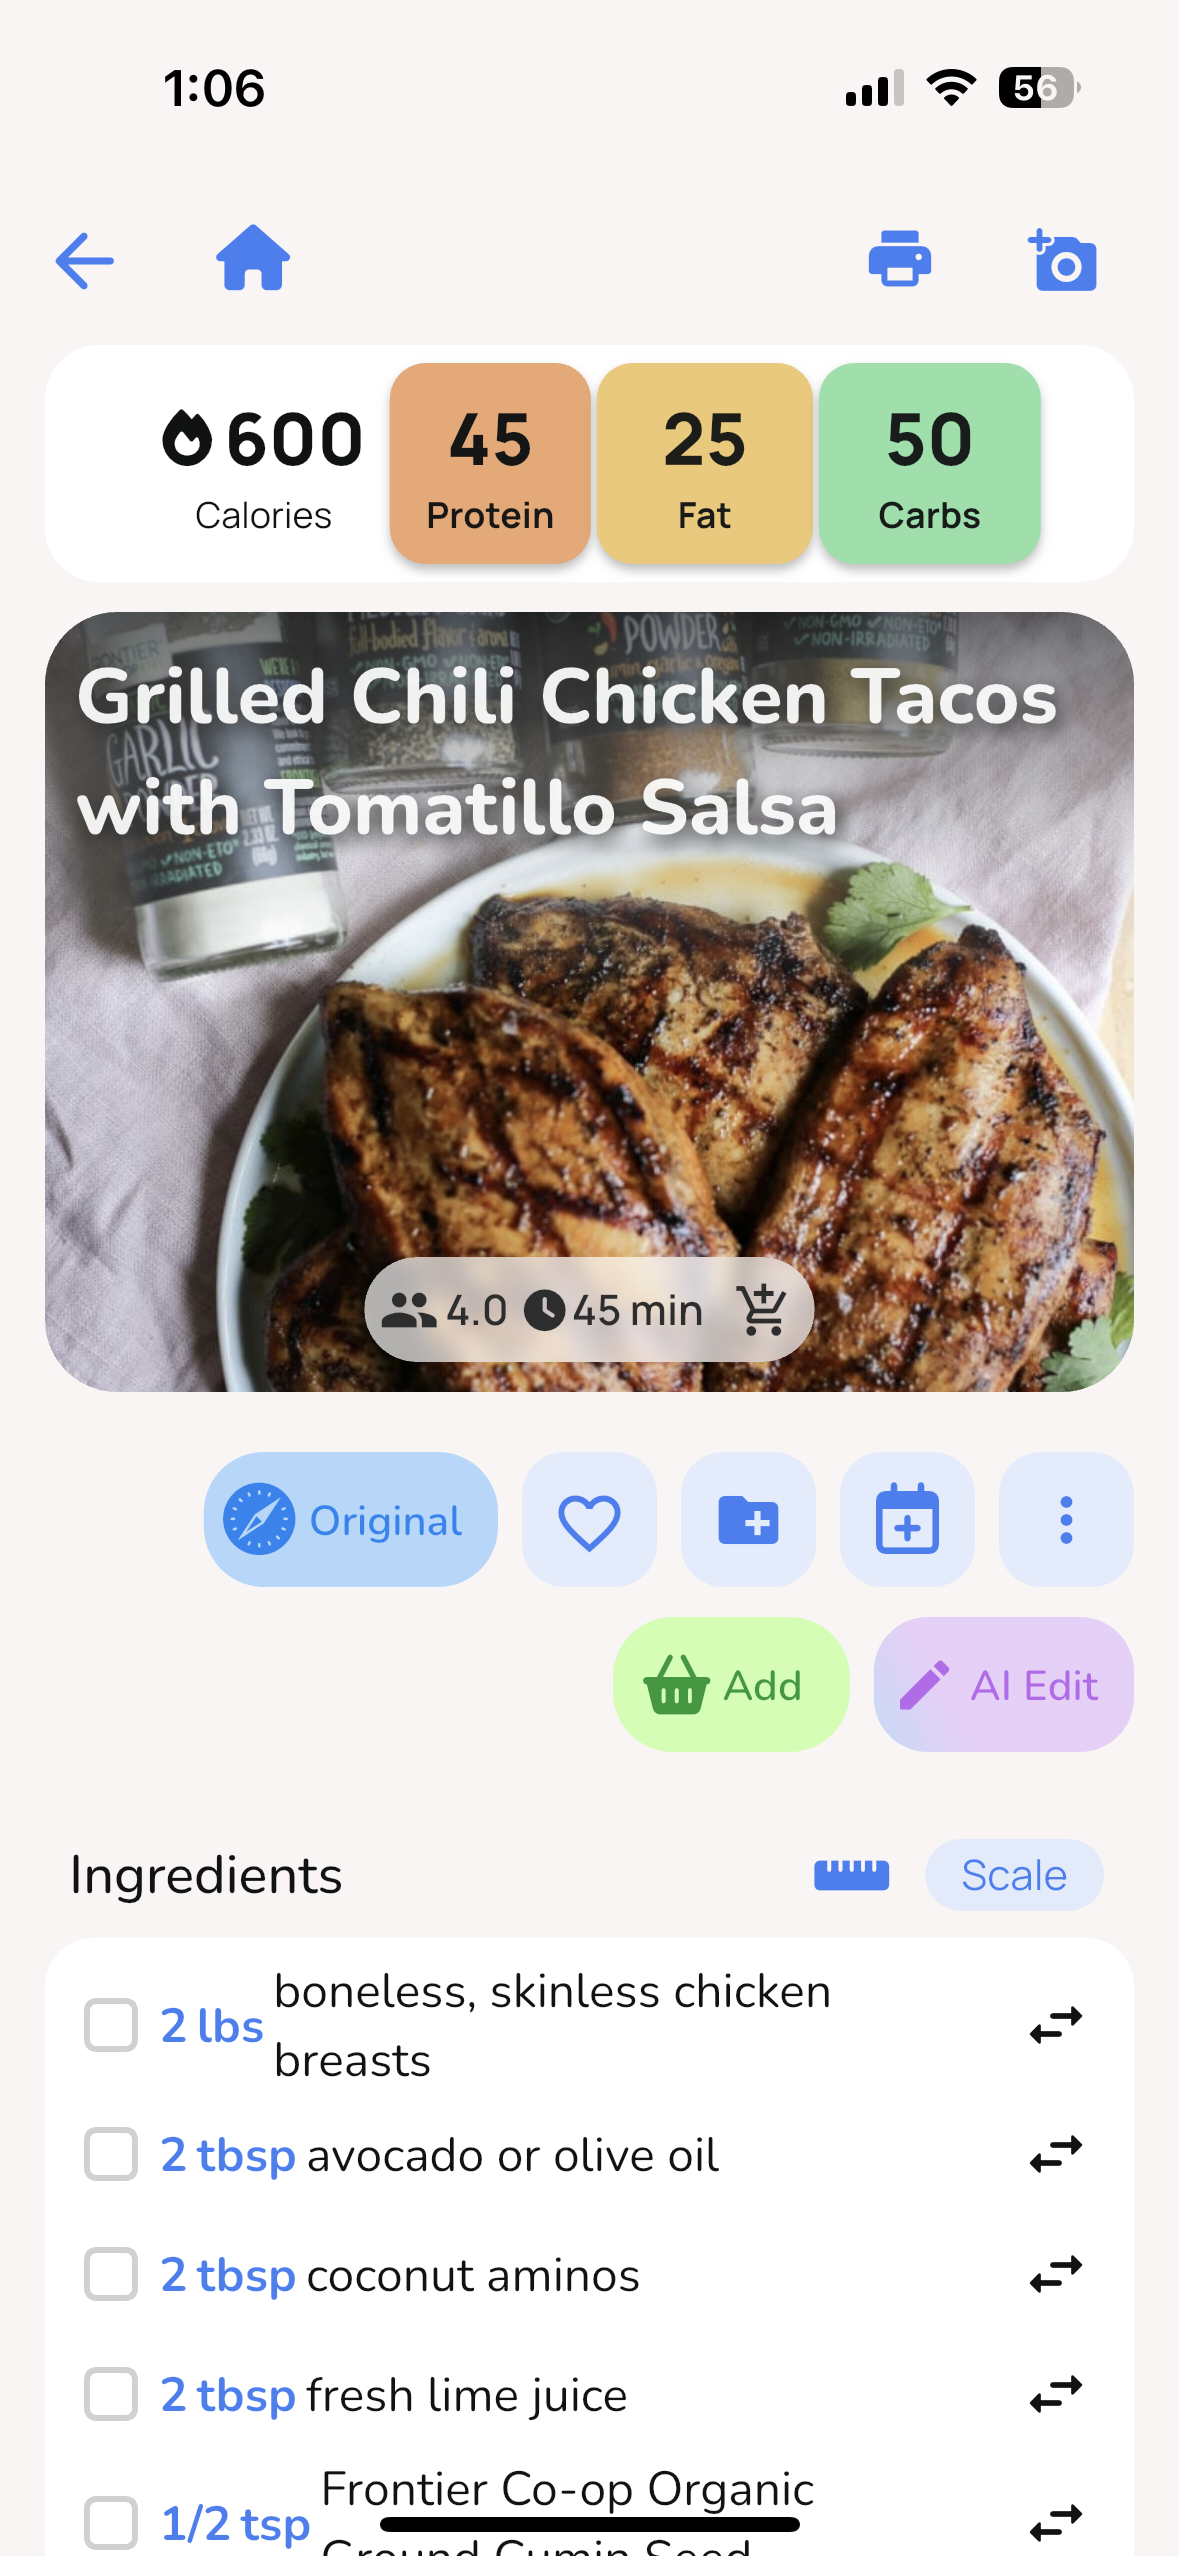
While smart appliance apps handle the operational side of cooking, the Honeydew Recipe Manager takes care of the planning and preparation. This app is your go-to for organizing recipes, planning meals, and streamlining grocery shopping.
With Honeydew, you can import recipes from platforms like TikTok, Instagram, YouTube, or any website. The app's AI extracts ingredients and instructions, formatting them into a user-friendly layout perfect for cooking. Its drag-and-drop meal planner lets you organize your week, and it automatically generates a grocery list sorted by store sections. Thanks to its Instacart integration, you can order everything you need with just one click - no app-hopping required.
Honeydew also uses inventory-based planning to reduce food waste. Snap a photo of your fridge's contents with the Pantry Mode feature, and the app will suggest recipes based on what you already have. Missing an ingredient? No problem. The app provides smart substitutions tailored to maintain both nutritional value and flavor.
When it's time to cook, Honeydew keeps things simple. Open the app for step-by-step instructions, and control your smart oven or range through its dedicated app. Honeydew's screen-stays-on feature means you won't have to touch your phone with messy hands, and offline functionality ensures you can access recipes even without WiFi. Plus, its built-in calorie and macro calculator tracks nutrition automatically, helping you stay on top of dietary goals.
For families, Honeydew offers sharing features so up to six people can access the same recipe collections and meal plans. Combined with smart appliances that support multiple user profiles, this creates a connected kitchen experience where everyone can pitch in, from planning meals to preparing them.
Fixing Common Problems
WiFi Connection Issues
WiFi connection issues with smart appliances often boil down to a few predictable culprits. Most of these devices are designed to work exclusively with 2.4 GHz WiFi networks. If your router operates on 5 GHz or uses a combined network name for both bands, your appliance might struggle to connect. Additionally, ensure the appliance gets at least three bars of signal strength during setup. If it's too far from the router, try moving it closer or using a WiFi extender.
Check your router's SSID (network name) to ensure it uses only English letters, numbers, and basic symbols. Special characters can sometimes cause connection failures. Also, confirm your WiFi security settings are configured to WPA2. For Android users, make sure both Bluetooth and Location services are enabled, as these are often required for the appliance app to work properly. Double-check that Android's WiFi settings aren't interfering with the connection.
If you've confirmed all settings and still face issues, try power cycling the appliance by unplugging it for 30 seconds before reconnecting. If that doesn't resolve the problem, reboot your router by unplugging it for three minutes, then wait an additional minute after it restarts before reconnecting. Double-check your WiFi password, as it's case-sensitive. On iOS devices, you can verify this by tapping the "i" icon next to your network name in Settings.
If none of these steps work, resetting and re-pairing your appliance might be necessary.
Resetting and Re-Pairing Your Appliances
When an appliance stops responding or shows a "no WiFi" icon, a full reset is often the best solution. Start by removing the appliance from your app's settings. Look for options like "Remove Appliance" or "Remove Oven", and then proceed to re-pair the device.
If the standard reset methods don't work, consult your appliance's manual for specific instructions. For instance, the Tovala Smart Oven requires scanning a reset QR code using its built-in scanner, followed by unplugging the unit for 20 seconds. Make sure your phone's screen brightness is set to maximum for the QR code scan to succeed.
Before re-pairing, ensure your phone's Bluetooth is switched on and stay within a few feet of the appliance. Also, check that both the appliance firmware and the mobile app are updated to their latest versions, as outdated software can cause compatibility issues. If you're dealing with multiple appliances that won't connect, reset your router and confirm its SSID is visible. Many appliances have trouble connecting to hidden networks.
Conclusion
Controlling your kitchen appliances through your phone has transformed daily cooking into a smoother, more efficient experience. From preheating your oven to checking appliance statuses or receiving alerts when the fridge door is left ajar, these features save time and reduce stress.
The benefits of precision and efficiency are undeniable. Smart appliances notify you when preheating is done or when your food reaches the ideal temperature, ensuring perfect results every time. Plus, scheduling energy-intensive tasks like running the dishwasher during off-peak hours helps lower utility bills and conserve resources. Considering that smart appliances rank as the third-largest energy consumers in most homes - just behind HVAC systems and water heaters - using them wisely can lead to noticeable savings.
On top of that, integrating smart appliances with tools like Honeydew Recipe Manager brings an extra layer of convenience. This pairing not only automates appliance functions but also simplifies meal prep with features like instant recipe imports, auto-generated grocery lists, AI-powered meal plans, and Instacart integration. It’s a seamless way to create a fully connected kitchen.
Regular software updates ensure your appliances stay up-to-date without requiring new hardware. Remote diagnostics also make troubleshooting easier, allowing you to share appliance data with customer service for quicker solutions and fewer technician visits.
FAQs
What are the advantages of controlling kitchen appliances with your smartphone?
Using your smartphone to manage smart kitchen appliances brings a whole new level of ease to cooking. Imagine preheating your oven while lounging on the couch, tweaking cooking temperatures or timers from another room, or even starting your dishwasher and checking your fridge’s ice levels - all without stepping foot in the kitchen. These features not only save time but also help prevent overcooking and free you up to focus on other tasks.
Smart appliances also sync seamlessly with home automation systems, allowing you to use voice commands via assistants like Amazon Alexa or Google Home. You can get alerts when a dish is ready or if something needs attention, adding an extra layer of safety and convenience. Want to take it a step further? Pair your appliances with tools like Honeydew Recipe Manager - import a recipe, send the recommended oven settings directly to your connected appliance, and let the technology handle the hard part. These advancements mean less time worrying about your appliances and more time enjoying perfectly cooked, restaurant-worthy meals in the comfort of your home.
How can I check if my smart kitchen appliances are compatible with my phone?
To get your smart kitchen appliances working with your phone, start by ensuring the appliance has built-in Wi-Fi and supports a mobile app. Look for terms like "smart" or "connected" on the packaging or in the user manual. Next, make sure your phone is compatible: iPhones need iOS 10.0 or later, while Android devices require Android 6.0 or above with at least 2 GB of RAM.
Check your home Wi-Fi network - it should operate on the 2.4 GHz band since most appliances don’t support 5 GHz. Use a straightforward network name without special characters, and confirm your Wi-Fi password is correct. Download the appliance’s official app from the App Store or Google Play, create an account, and follow the setup steps. This might involve scanning a QR code or entering a code displayed on the appliance.
Once connected, test the app by trying a simple command, like adjusting the oven temperature or viewing fridge settings. If it doesn’t work, repeat the setup process, ensuring your phone’s Bluetooth is enabled and you’re connected to the correct Wi-Fi band. To keep everything running smoothly, regularly update both the app and the appliance’s firmware.
What can I do if my smart kitchen appliance isn’t connecting to Wi-Fi?
If your smart kitchen appliance isn't connecting to Wi-Fi, here are some steps you can take to troubleshoot the issue:
- Update the app and check permissions: First, ensure you're using the latest version of the appliance's app. For Android users, enable Bluetooth and Location services. On iOS devices, confirm that Bluetooth permissions are enabled.
- Double-check Wi-Fi settings: Most smart appliances work better with a 2.4 GHz Wi-Fi band rather than 5 GHz. Also, verify that you've entered the correct Wi-Fi password - typos can cause connection problems.
- Check signal strength: During setup, keep your phone close to the appliance. Ensure the appliance is within a good range of your router to avoid weak signal issues.
- Restart devices: Unplug your appliance for about 30 seconds, then plug it back in. Similarly, restart your router by unplugging it for around 3 minutes before reconnecting.
- Re-add the appliance: If the problem persists, remove the appliance from the app and go through the setup process again. This might involve scanning a QR code or manually entering the appliance's details.
Still having trouble? Reach out to the manufacturer's support team for additional help. They can guide you through more specific solutions.